
Data loss is defined as data that gets misplaced, removed without authorization, leaked outside of the organization or otherwise corrupted perhaps due to malware. Failure to prevent data from being ‘lost’ can result in hefty fines, especially for organizations that have to comply with the General Data Protection Regulations (GDPR) where they can be fined up to 20 million Euros, or 4% of annual, worldwide turnover.
In this guide, I will show you how you can leverage Microsoft Office 365 Security and Compliance center to use labels or tags to categorize sensitive content and create data loss prevention (DLP) policies to control and monitor what happens with your sensitive data. Properly configuring these content labels and DLP policies can significantly strengthen your data loss efforts and help avoid hefty fines associated with failing to meet compliance standards.
The guide is broken down into 3 parts:
- Classify – Familiarize yourself with the sensitive information types and create a new one if needed.
- Identify – Create a label to classify content based on information type.
- Protect – Create policies which will be enforced when a label is applied manually or automatically to content.
Part 1: Classify Sensitive Information Types
Microsoft has a large collection of default sensitive information types available to use in your security and compliance policies. Depending on what your organization does some of these may already cover your use case, if not you can create a new sensitive info type that correlates to the data you are interested in classifying.
First, we’ll create a new sensitive info type, if the default options meet your needs continue to section 2 and we’ll get into creating the policy that will use these labels to classify your content. From the Security & Compliance center expand out Classifications, click Sensitive Info types and create.
Step 1:
From the Security & Compliance Center expand out Classifications, click Sensitive Info types and create then choose a name and description.
Step 2: Requirements for matching
You can create a custom info type that can be used as a criteria definition for labels, data loss prevention policies and more.
Add a supporting element, which is the sensitive info that this info type will look for in content. To increase the accuracy of detection, you can add multiple supporting elements.
Options for supporting elements:
- Regular expression
- Keyword list
- Dictionary
There is a limit for the number of keywords you can add to a supporting element, you can describe a greater number of keywords/patterns with a relatively small regular expression.
For example, here’s a regex for a US Social Security Number:
- b(?!000)(?!666)[0-8]d{2}[ -](?!00)d{2}[ -](?!0000)d{4}b

Part 2: Create Labels for Sensitive Information Types
When a label is applied (automatically or by the user), the content or site is protected based on the settings you choose. For example, labels can provide the following:
- Content marking
- Set retention policies – automatically delete or retain content for a certain number of days
- Disable offline access
- Control user access to specific sites
A GDPR label for example can be applied to content and configured to trigger a DLP policy that blocks the transfer of that data outside of the EU. A retention label can also be created to either retain or delete that content when it reaches a certain age.
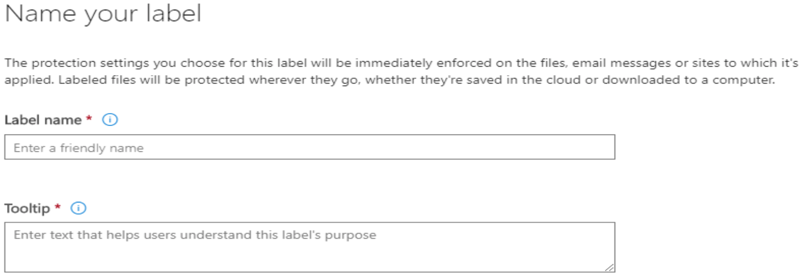
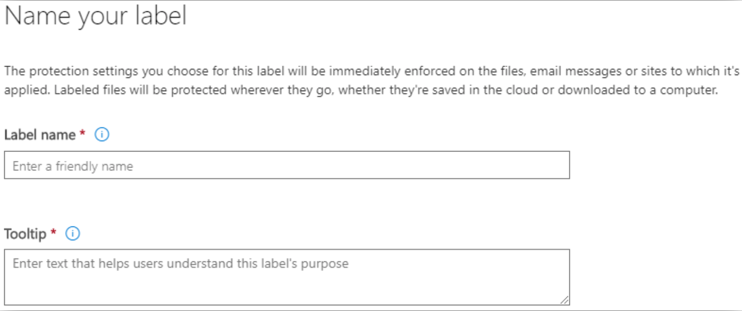
Step 1: Create a label and name it.
So let’s start off by creating a label, navigate to the Security and Compliance Center from the admin centers list, in the O365 admin center. Expand out Classifications from the options on the left and click Labels –>Create a label.
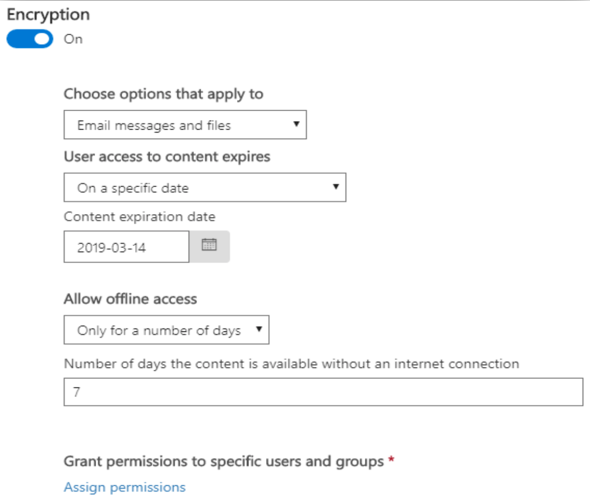
Step 2: Enable Encryption (Optional) – Turn Encryption on to expose the options in Figure 2.2.
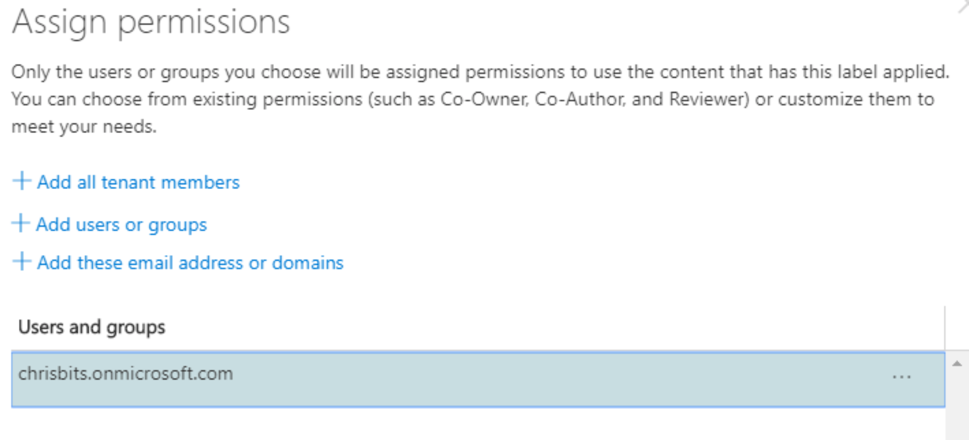
Step 3: Assign permissions
Control user access to specific sites – For example, sites labeled internal may only allow access to tenant members.
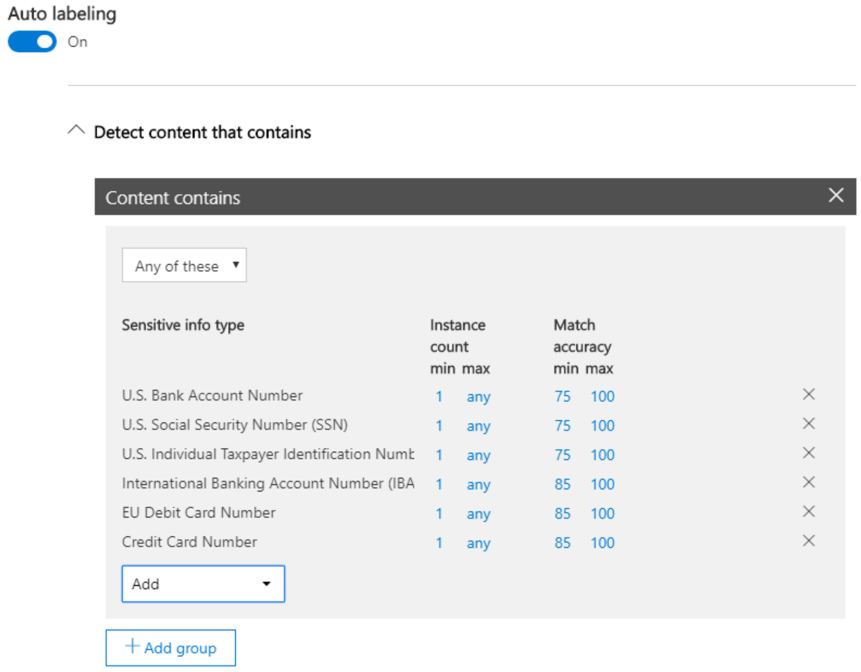
Step 4: Enable Auto Labeling (Optional)
Auto-labeling is only supported in Office apps when the Azure Information Protection unified labeling client has been installed.
When sensitive content is detected in email or documents matching the conditions you choose, this label can be configured to be automatically applied or show a message to users recommending they apply it themselves.
Related links to GDPR articles potentially covered by using labels:
- Article 18: Right to restriction of processing
- Article 21: Right to object
- Article 22: Rights related to automated decision making
- Article 32: Security of processing
Part 3: Create DLP Policies to Protect Labeled Content
Step 1: From the Security & Compliance center expand out the options underneath Data loss prevention and click Policy.
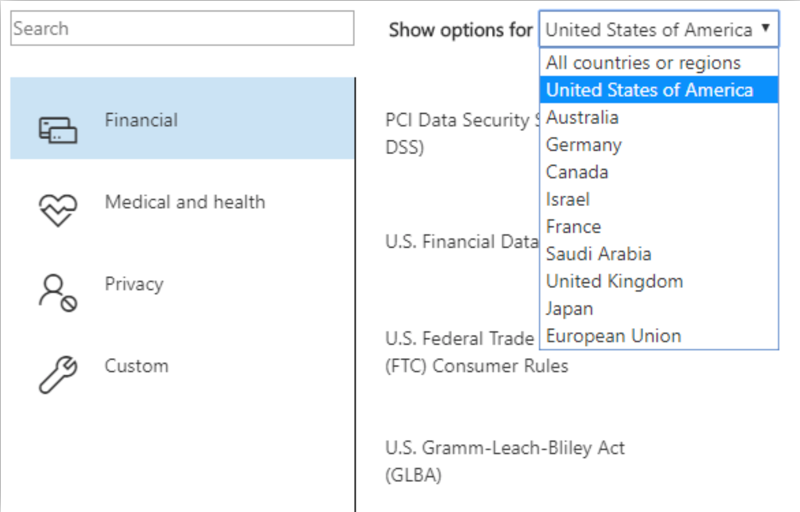
There are 4 categories containing about 40 default DLP policy templates to choose from including:
- Financial
- Medical and health
- Privacy
- Custom – if these default policy templates don’t meet all of your needs
Step 2: Name your policy
Give it a name and description that will help your users understand why the policy was triggered and what they need to do next.
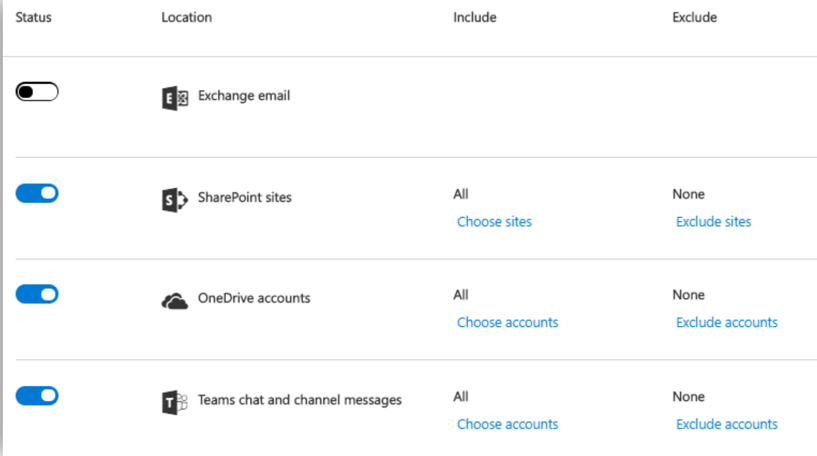
Step 3: Choose locations – Choose the location or zone this policy applies to
After you name your DLP policy you can choose to enforce it in Exchange, SharePoint, OneDrive and teams. You can also include or exclude Exchange distribution groups, OneDrive accounts, SharePoint sites or Teams chat and channel messages.
Step 4: Policy Settings – Find content that contains:
After you’ve chosen where you want to apply your policy configure the criteria your DLP policy will look for. Select ‘Find content that contains’ if you want to quickly set up a policy that protects only sensitive info or labeled content. The edit option allows you to add additional info types to look for as well as the ability to apply retention labels to the content.
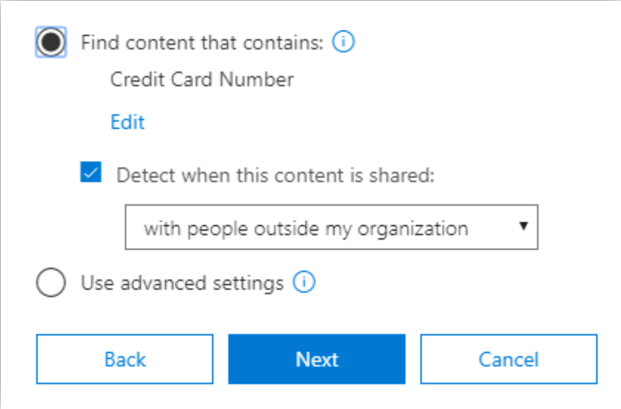
Figure 3.3: Find content that contains –
You can click edit to add additional criteria to what the template suggests. Or in the advanced settings there are additional options for setting up rules that offer more conditions and exceptions:
- Contains sensitive info
- Has specific labels applied
- Sent via email by or to IP address/ IP range match
- Included in attachments with specific file extension
- Included in documents with specific properties
Use advanced settings for more options, such as protecting content in email messages sent to specific domains, attachments with specific file extensions, and more. I will cover these in more depth in the next blog post.
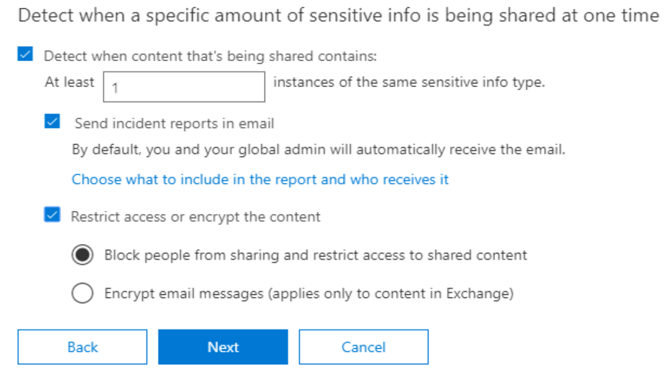
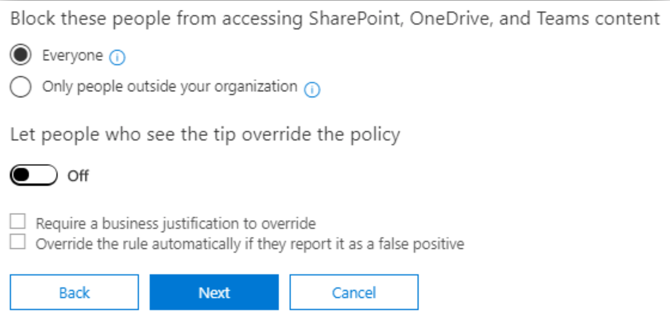
Step 5: Policy settings – What do you want to do if sensitive info is detected?
Related links GDPR articles potentially covered by creating these policies:
- Article 9: Special category data
- Article 10: Criminal offense data
- Article 18: Right to restrict processing
- Article 25: Data protection by design and default
- Article 32: Security of processing
- Article 33: Personal data breaches
Conclusion: Office 365 Security and Compliance
By classifying sensitive info types we can create labels and data loss prevention policies to identify sensitive content and protect it. A sensitive info type or classification is created with supporting elements to define what the sensitive content looks like. A label can be created to leverage sensitive info types to help identify content. A DLP policy contains a location (where the data is stored) and conditions (action O365 has to perform on sensitive data). These policies can be configured to warn users but allow sending anyway with justification, allow them to request approval for sending and allow only internal sharing, etc.
It’s important to note that setting up these labels and policies can help with DLP compliance but your organization still needs to be able to prove that it is compliant when audited. This means that your organization needs to be able to audit, report and document how data is stored, accessed and managed. which is best handled with a data access governance solution like StealthAUDIT for SharePoint.

Chris studied Information Systems at Hofstra University before joining Stealthbits – now part of Netwrix where he took on the role as the Technical Product Manager of SharePoint, Dropbox, and Box solution sets. His focus is primarily on SharePoint security, but data security, in general, is a passion. Aside from technical interests, he enjoys the outdoors and hopes to one day start an animal rescue and rehabilitation center for injured, disabled, and orphaned animals.
Related Posts
- 3 Strategies to Ensure Readiness for DSARs
- Global Compliance Demands: The Singaporean Personal Data Protection Act (PDPA) Reviewed
- South Africa’s Protection of Personal Information Act (POPIA) Compliance
- Lei Geral de Proteção de Dados Pessoais (LGPD Compliance) – What You Need to Know About Brazil’s National Data Privacy Regulation
- What is the California Privacy Rights Act?
- What is a Data Protection Impact Assessment (DPIA)?
- EU-US Privacy Shield Revoked: What This Means for EU-US Commercial Data Transfers
- Key Requirements of the NY SHIELD Act and How to be Compliant
- What is the California Consumer Privacy Act (CCPA)?
- What is the NYDFS Cybersecurity Regulation?
Hello,
I have an open ticket with Microsoft since April this year. Microsoft can not solve the issue and is pushing to close and forget.
I noticed NOT all documents with an IP-Address are scanned successfully by the default Microsoft policies. For instance *.XLS is scanned but the *.XLSX and PDF are not. Also EU passports and Driver’s Licenses are not scanned based on number format.
Please be so kind and help me with this major issue on discovered for the whole online Microsoft 365 tenant. (SharePoint, Teams, Onedrive and the email)
Hi Jan,
I’ve had some trouble with this in the past as well and unfortunately Microsoft does not seem to have any clear documentation on exactly what file types their DLP policies support. I can tell you that these policies do not look at data at rest, so try moving those files you want the DLP policies to see around and check if it gets picked up. Outside of that I’d recommend trying out stealthAUDIT for SharePoint, I can guarentee you that the file types you’ve listed are supported for scanning with Stealthbits and our Sensitive Data criteria does have a plethora of passport and drivers license scan formats out of the box. We scan SharePoint, Teams and OneDrive all under one license as well.
Cheers,
Christopher Nieves
Technical Product Manager
Stealthbits Technologies, Inc.
200 Central Avenue | Hawthorne, NJ 07506
E: christopher.nieves@stealthbits.com
W: https://stealthbits.com/