Covenant is one of the latest and greatest command and control (C2) post-exploitation frameworks. This post will walk you through the process of configuring Covenant and using it to execute payloads on compromised hosts.
Note: This post demonstrates the capabilities of Covenant as of mid-September 2019.
1. Install Covenant
First, we need to install Covenant on a host machine that will function as both the Covenant database and the management application controlling the application agents, known as grunts.
Prerequisites
For this blog post, I installed Covenant on a Windows 10 workstation, but any recent Windows Server OS or Linux distribution that supports .NET Core should do just fine as well.
The following applications must be installed on the machine hosting Covenant:
Installation process
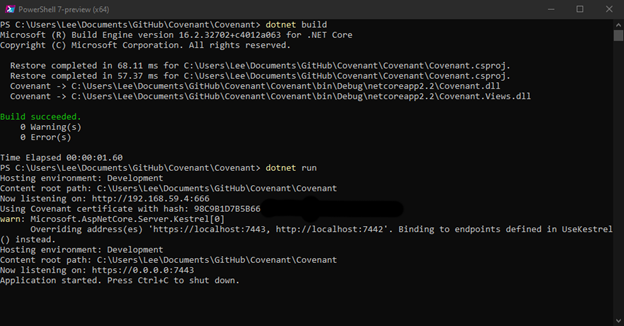
Given the modern, cross-platform architecture of Covenant, it does not provide an old-fashioned installer executable. Instead, we need to clone the project git repository and then build and run the application using the following commands:
git clone --recurse-submodules https://github.com/cobbr/Covenant

cd Covenant/Covenant

dotnet build

dotnet run
Alternatively, we could run Covenant in a Docker container.
2. Create an account.
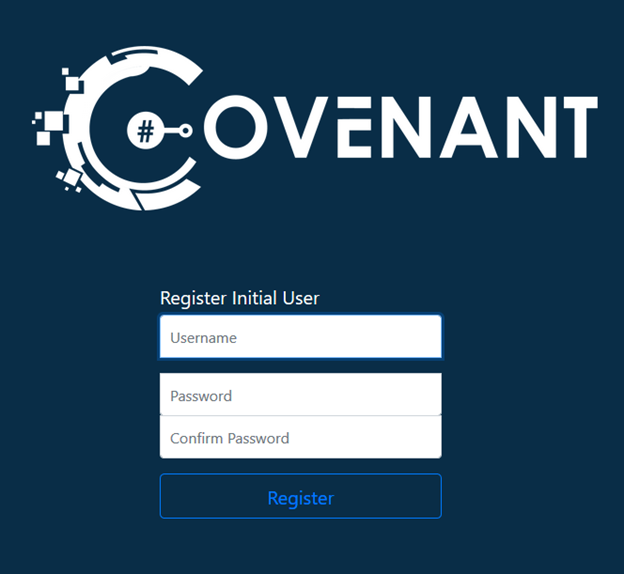
With the Covenant service up and running, we can browse to the Covenant application interface on its default web port of 7443. We will be prompted to set up a user account:
After we complete the registration process, we will be redirected to the User Management page:
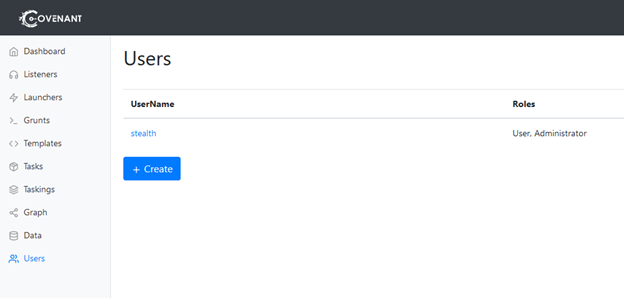
The menu on the left enables us to navigate to the various capabilities of Covenant.
3. Configure a listener.
Listeners enable grunts to communicate with the Covenant application. There are no listeners configured out of the box, so we need to configure one. Click Listeners in the left menu to open the Listener page:
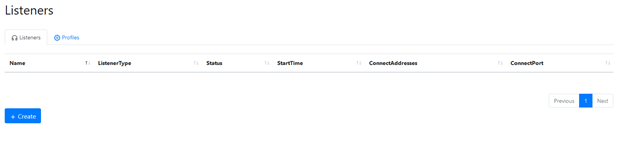
Then click the Create button to open the Create HTTP Listener page:
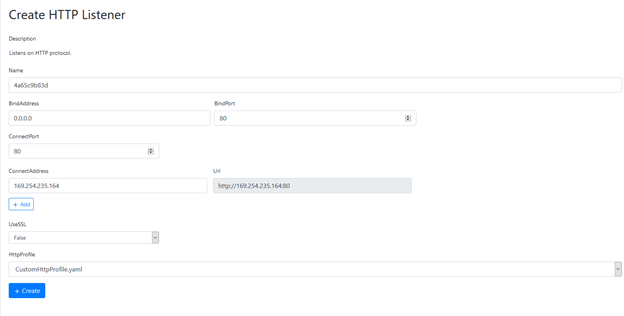
We’ll need to update a few of the values provided:
- Name — By default, Covenant provides a simple “GUID” type name. Feel free to change it to something more readable.
- BindAddress and ConnectAddress — Make sure these both specify an address that is reachable by the grunts.
- UseSSL — If you want to use SLL, you’ll need to specify an SSL certificate file and password.
Once configuration is complete, click the Create button to create and enable the listener.
4. Create a launcher.
Next, we need to create launcher. Launchers are used to turn remote hosts into grunts and connect them to the Covenant application. They typically come in the form a payload package that runs on a remote host. Each launcher is paired with a listener.
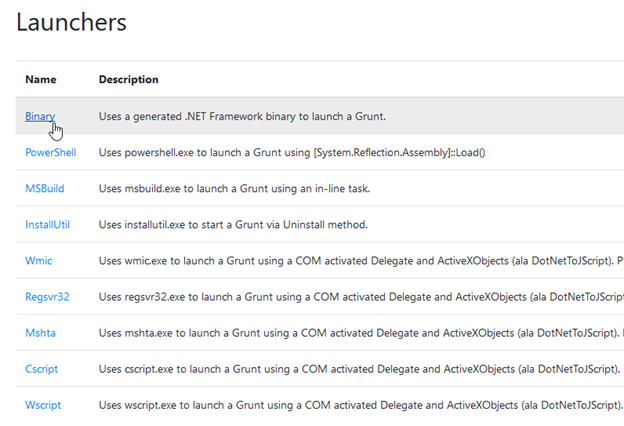
From left menu of the User Management page, click Launchers. You’ll see a list of types of launchers. The Binary launcher, which is used to generate custom binaries, is one of the easiest launchers to use, so let’s select Binary for our first launcher.
The configuration page will open:
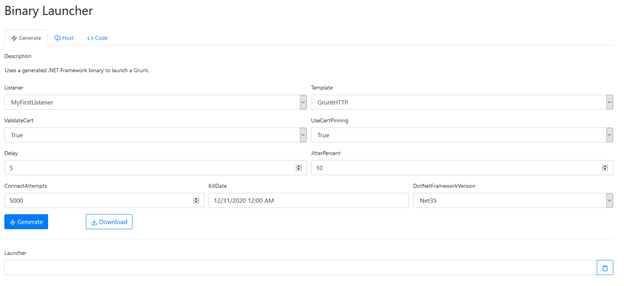
Specify the following configuration options:
- Listener — Specify the listener that the new launcher will use. Let’s use the HTTP listener we created earlier:

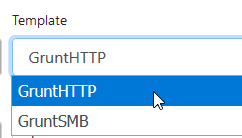
- Template — Let’s use the out-of-box template GruntHTTP:
- Delay and Jitter — These settings control how often a grunt communicates with Covenant. We can leave the default values.
- ConnectAttempts and KillDate — These setting control when a grunt will stop attempting to communicate with Covenant. Again, we can leave the default values.
Once configuration is complete, click the Generate button to create the new launcher and return to the configuration page.
5. Create a grunt by executing the launcher.
Next we need to save the launcher payload: Clicking Download and then Save File.

Next, copy the saved file to the desired host and execute it.
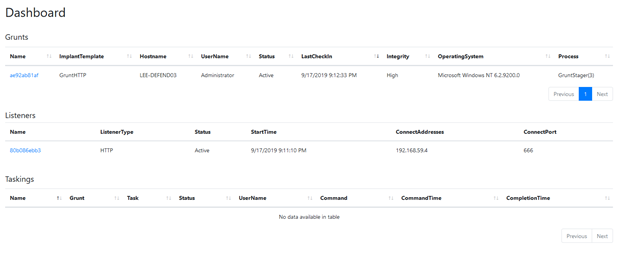
The newly registered grunt will appear on our dashboard in Covenant:
6. Assign tasks to the grunt.
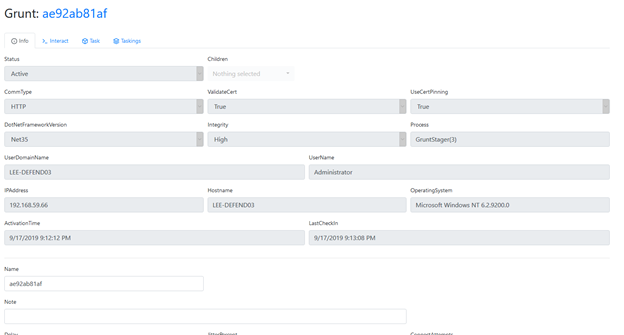
From left menu of the User Management page, click Grunts and then open the grunt we just registered. The Info tab provides details about its connection status and functionality:
To assign a task for our grunt, we need to click the Task tab.
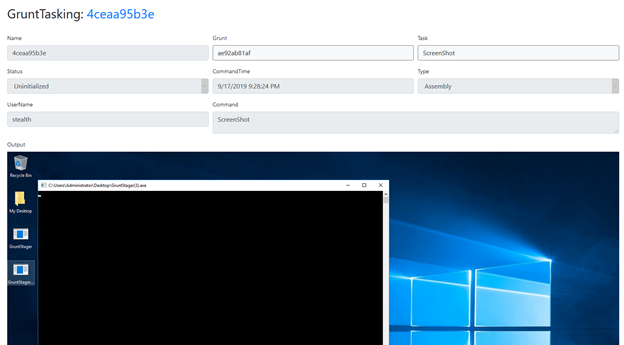
Example 1: Take a screenshot.
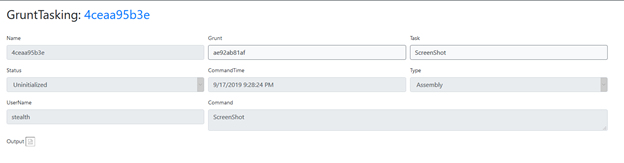
First, let’s suppose we want the grunt to take a screenshot of the active user’s desktop. We select Screenshot from the Task dropdown and then click the Task button below to immediately execute this action on the grunt:
Refresh the page to see the updated task status. It will show that the task has completed and provide its output, which in this case is simply a screenshot. Note that the output for a task depends on the type of task.
Example 2: Run Mimikatz.
Let’s have the grunt perform another task: Run Mimikatz.
We need to navigate back to the Tasks tab of our grunt’s details page. Then we’ll select Mimikatz from the Task dropdown.
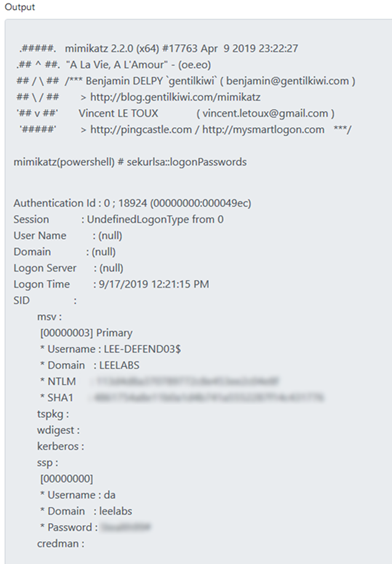
Many tasks have a set of customizable input parameters. Mimikatz tasks have a “Command” input parameter that allows us to specify which Mimikatz command we want to execute. Conveniently, it is pre-populated with the sekurlsa::logonPasswords command, which discovers passwords stored in memory. Let’s assign this task to our grunt and see what happens.
It just so happens that a Domain Admin account was logged into this grunt host — so in the task output, we can see the Domain Admin’s password in clear text!
Running Mimikatz using Covenant helps adversaries avoid detection because Covenant does not store tasks directly on the grunt host. Instead, it dynamically compiles and deploys the task payload over its client connection at the time of tasking. Moreover, each time a new grunt is created or a new task is assigned to a grunt, the relevant code is recompiled and obfuscated with ConfuserEx, which avoids static payloads that would be easier to spot. In fact, when performing the steps here on my machine, Windows Defender was enabled and up to date, yet the grunt’s Mimikatz tasks executed without issue.
Reviewing task history and output.
Covenant provides a clear history of the tasks it has executed. From left menu of the User Management page, click Taskings:
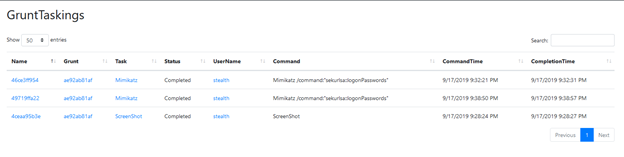
You can see the both the screenshot task and the mimikatz task we ran earlier. Click on any row to view to the task’s parameters and full output.
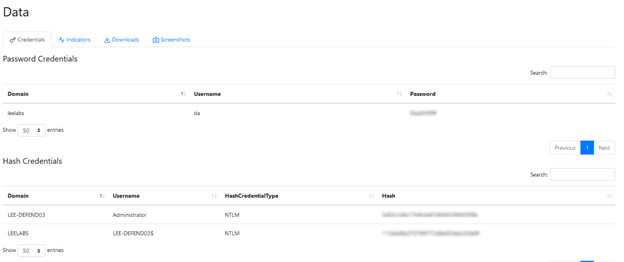
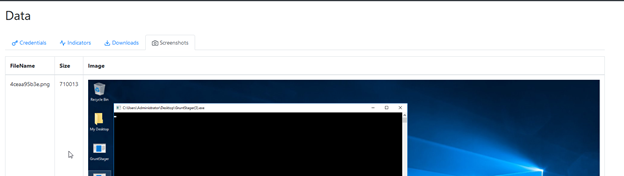
Note that many tasks also save elements of their output to the Data page. Click the various tabs to view credentials, indicators, downloaded artifacts and screenshots. For example, here are the credentials discovered by our Mimikatz task:
And here is screenshot captured by our other task:
Example 3: Download a file.
Now, let’s run one more task on our grunt to download a file so we can view it on the Downloads tab.
Supposed we have discovered that there is a file on our grunt host called MySecretDocument.txt. Let’s use the Download task to obtain a copy of this file for ourselves!
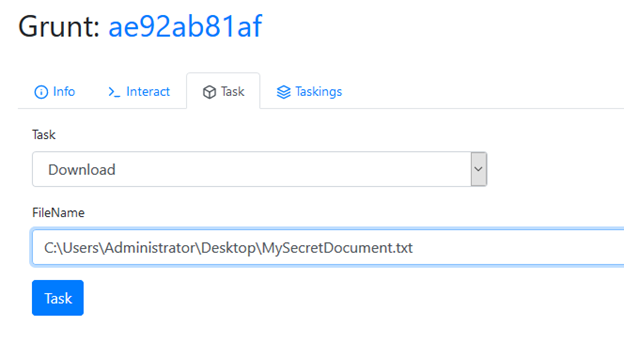
Running this task will retrieve a copy of the file and make it immediately available on the Downloads tab:

This task is simple in itself but has some fascinating use cases given the fact that we can run this task using the rights of the user who executed the grunt launcher or credentials we gained via other tasks.
Conclusion
Covenant already offers a wide variety of tasks, and the list is growing every day thanks to open-source community involvement. This project will very likely have an exciting future and is certainly worth having a look!